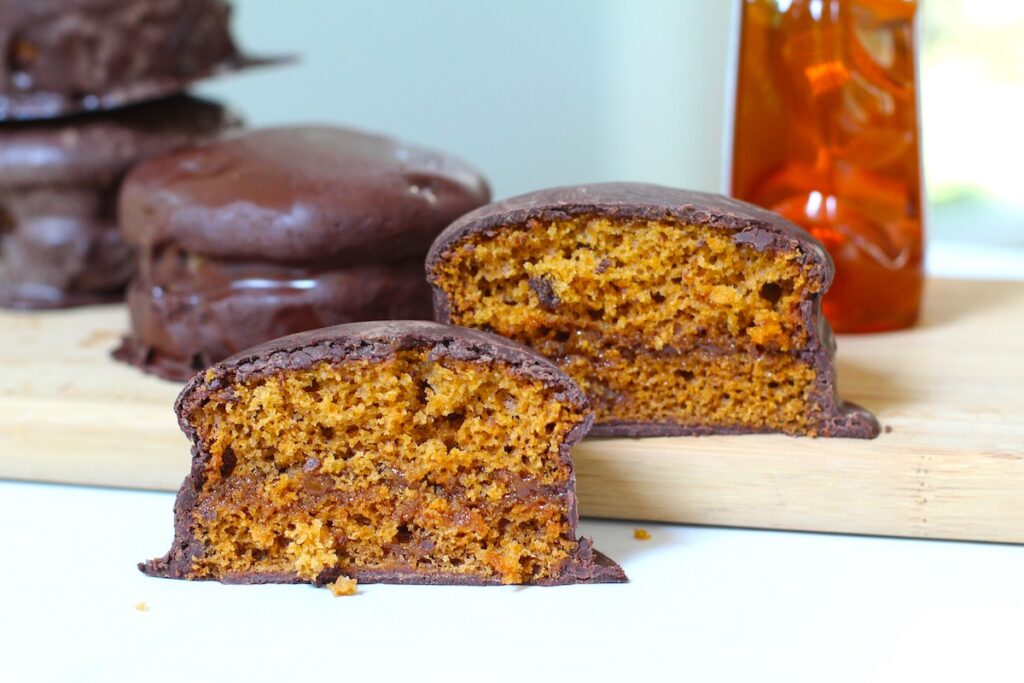
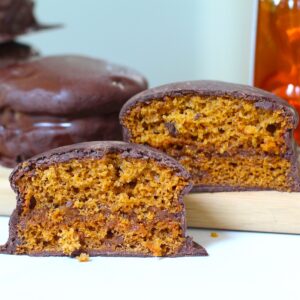
These Brazilian Pao de Mel—moist spiced honey cakes with a creamy doce de leite center and a chocolate shell—are a beloved treat that’s perfect for gifting or savoring with coffee.

In Brazil, Pao de Mel, or technically, Pão de Mel, means more than just “bread of honey.” These little spiced cakes are a beloved treat you’ll find at bakeries, birthday parties, and in the hands of anyone lucky enough to have a Brazilian grandma. Moist, warmly spiced, and lightly sweet from honey, they’re filled with silky doce de leite (the Portuguese spelling for Dulce de Leche) and coated in a thin shell of bittersweet chocolate that cracks gently when you bite in.
I first fell in love with Pão de Mel during our two years living in Brazil, where these treats were always found at a small bakery and cake shop near our apartment. They’re not only beautiful to gift but also a cozy afternoon indulgence with coffee. With each bite, I’m transported back to Brazil—family laughter, the smell of cinnamon and cloves, and the warm hospitality that makes every visitor feel like family.
If you like Cinnamon, try these Rabanadas next!
Jump to:
A Sweet Bite of Brazilian Tradition
Pão de Mel has been delighting Brazilians for over a century, with its roots tracing back to European honey cakes brought by immigrants. Over time, the recipe was embraced and transformed with local flavors—rich doce de leite, warm tropical spices, and a generous coating of chocolate. Today, you’ll find them everywhere from homemade holiday treats to bakery counters and wedding favors, each one a little edible hug from Brazil’s past.
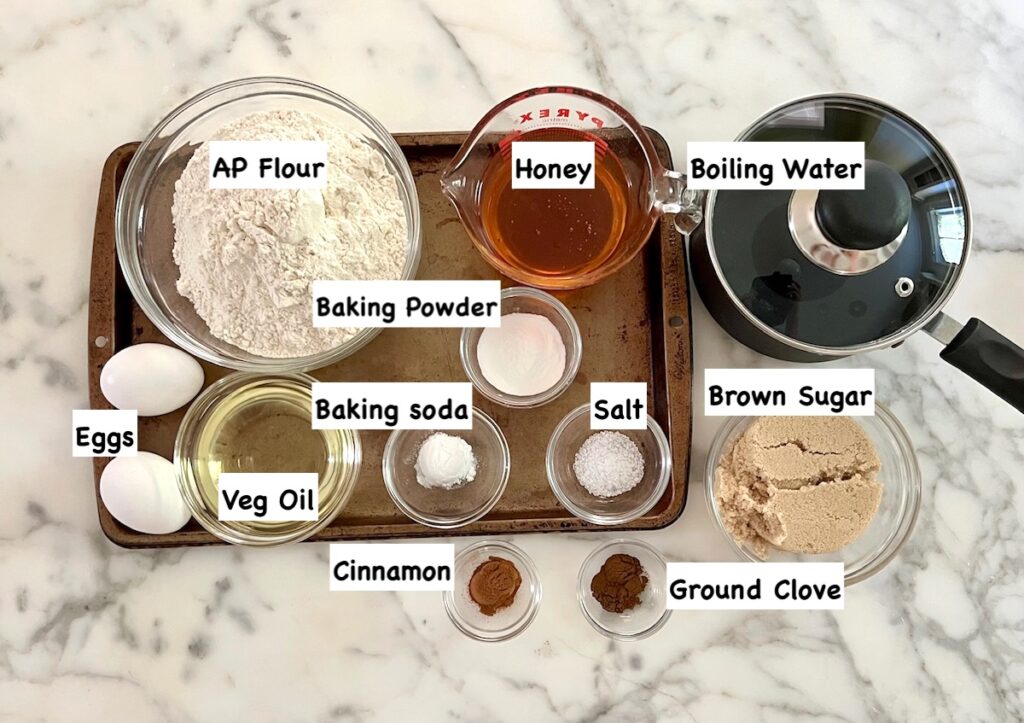
Simple Ingredients and Substitutes
Quick note! This post contains affiliate links, which means I earn a commission (at no extra cost to you) if you purchase from them. This commission is what helps me keep this blog afloat :). I also share these links because I have used the products, genuinely love them, and want you to know exactly what I used.
- Eggs, large - You can use white or brown eggs in this recipe.
- Light brown sugar packed - The brown sugar brings both color and deep flavor from the molasses.
- Vegetable oil - A light flavorless oil is good in this recipe.
- Honey - Honey is really the star here and brings moisture as well as natural sweetness to the cake. You can substitute with agave syrup or regular sugar.
- Spices: Ground cinnamon and Ground cloves. If you don't have ground cloves, you can substitute pumpkin pie seasoning if you have that. This would also include the cinnamon, so you may want to reduce that. You can also use a touch of nutmeg.
- Baking soda and Baking powder - This cake uses both baking powder and baking soda to double ensure that the cake rises at different stages of the process. If you only have one of these, then sub the other with it.
- Boiling water
- All purpose Flour, unbleached - Regular AP flour is fine, you do not need cake flour or anything special. I have not yet tested this recipe with Gluten Free flour options. However, when I do bake with Gluten Free Flour, I use Bob's Red Mill Gluten Free All Purpose Flour and add xanthan gum according to the GF flour package instructions for cakes.
- Salt - Kosher salt or table salt is fine.
- Dulce de Leche (or Doce de Leite in Portuguese) - You can find this delicious sweet spread in most grocery stores these days in the baking section. You can also order Dulce de Leche online for added convenience!
- Bittersweet or semisweet chocolate works best to balance the sweetness of the honey and dulce de leche. Milk chocolate can be used if you prefer a sweeter version.
See recipe card for quantities.
Simple Equipment You'll Need with Options
You will need 1 large mixing bowl, a whisk, and fine mesh sieve (strainer).
To bake the cakes, you need 12, 4-ounce or 6, 8-ounce Ramekins that are oven safe.
For melting and tempering the chocolate, you will need a double boiler or heat-safe glass bowl that wide enough to sit over a pot of boiling water.
You should also have a candy thermometer.
How to Make the Cakes for Pao de Mel
Before you start, make sure you have everything out including measuring cups and spoons. Then preheat oven to 325 F degrees.
Prepare the ramekins by spraying or rubbing them with oil and then dusting with flour. This will help the cakes to rise without sticking and easily come out when baked.
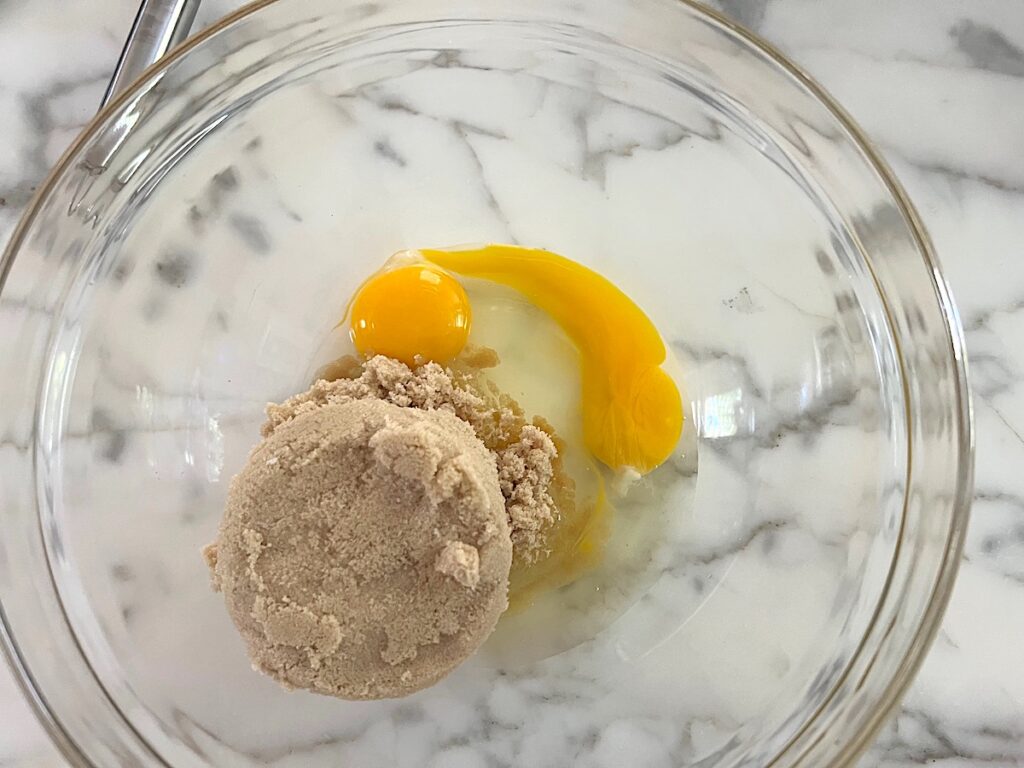
Mix the brown sugar and eggs until combined.
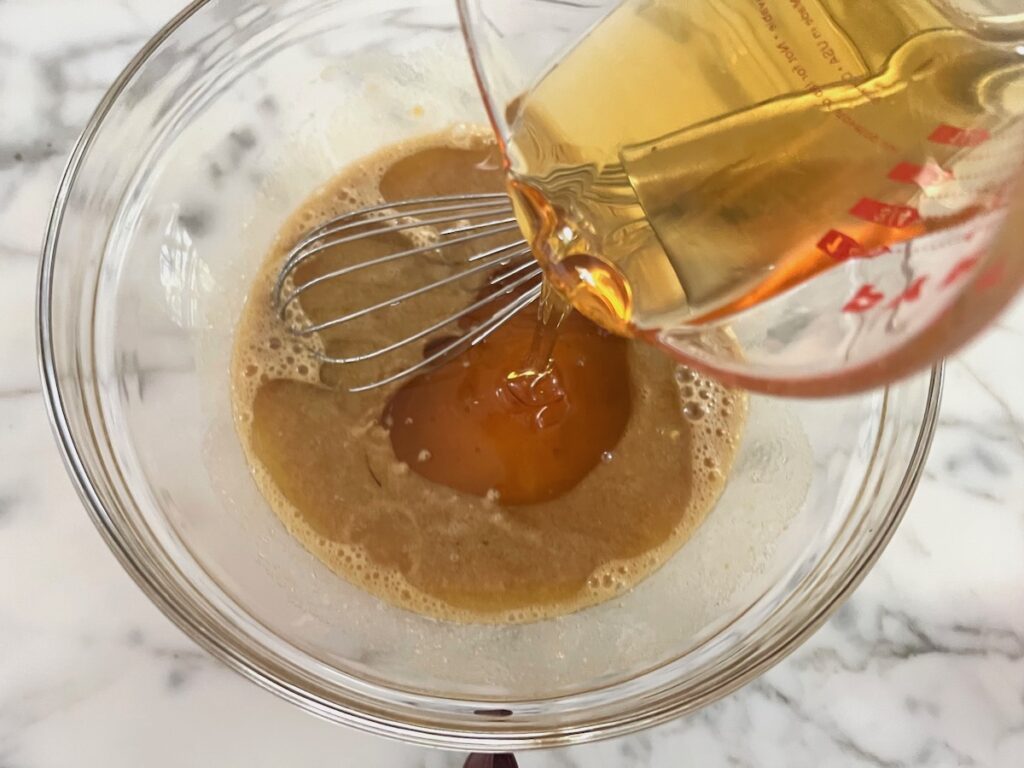
Add the vegetable oil and honey, and mix.
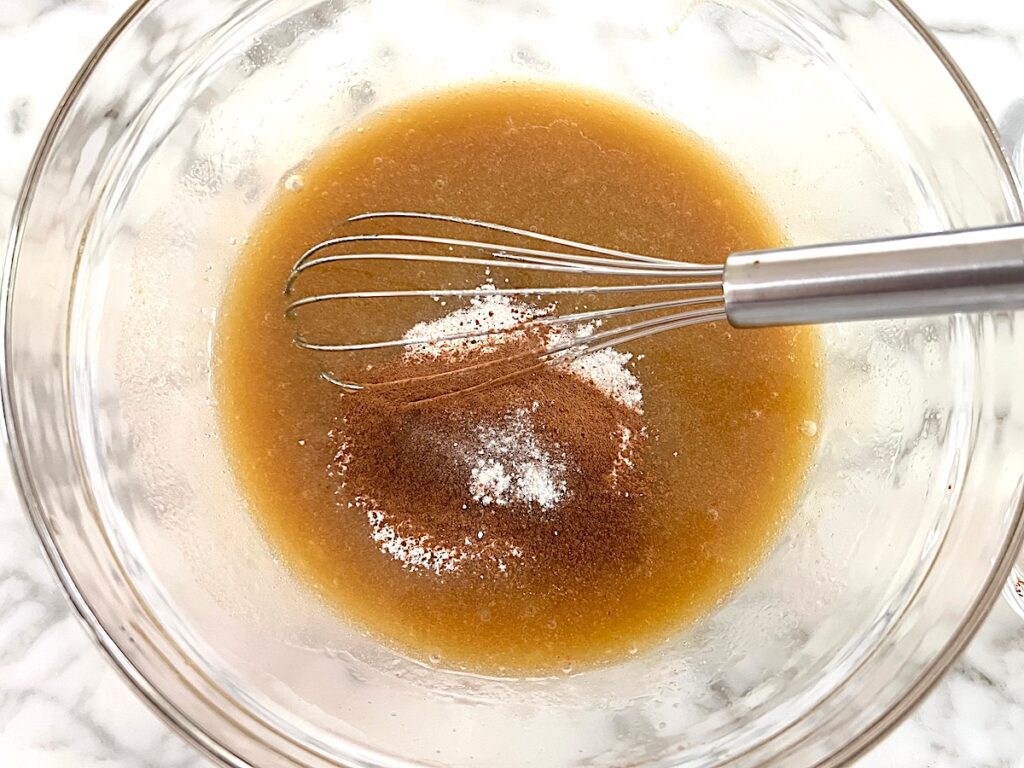
Sift in the cinnamon, ground clove, baking soda, and baking powder and mix.

Add the hot water and mix. Sift in the flour and salt, then mix.
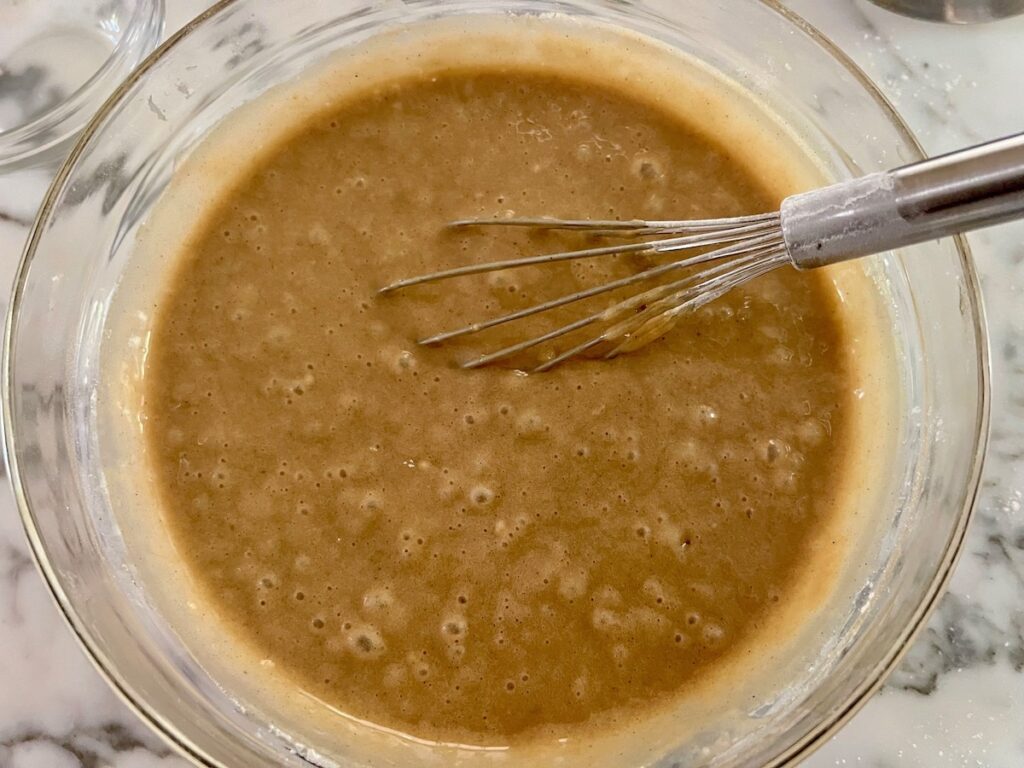
Your batter will be a nice golden brown color, very loose and pourable.
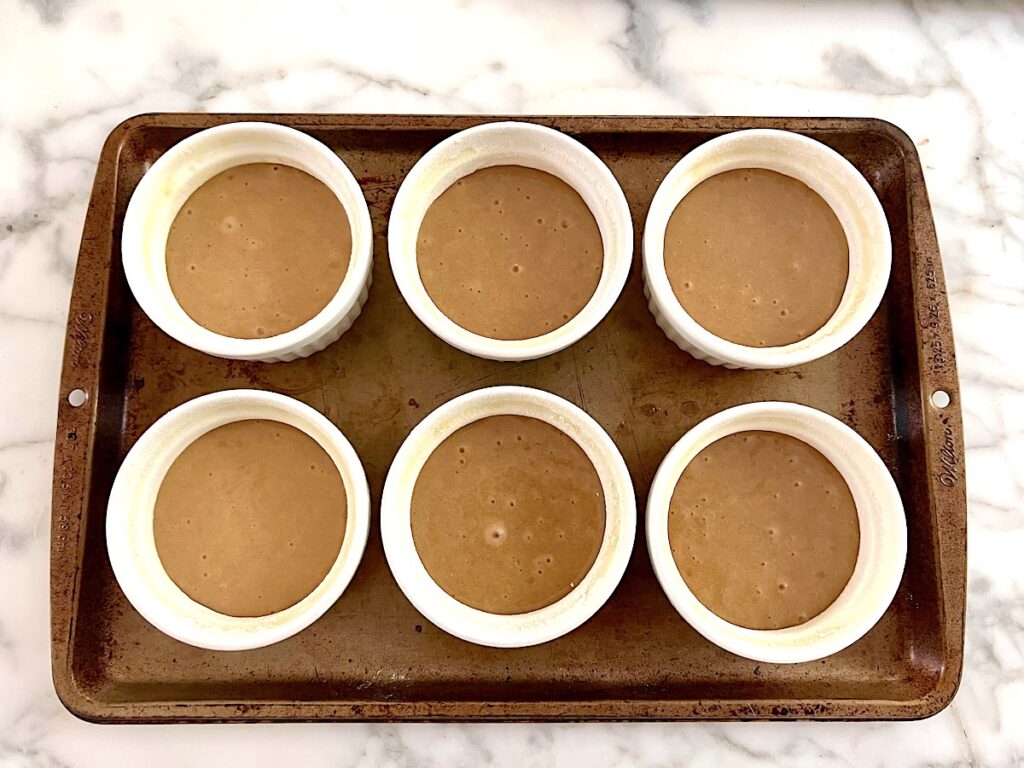
Pour the batter into the Ramekins, filling them halfway.
Bake on the center rack uncovered for 15-20 minutes. To test if they are done, place a toothpick into the center and if it comes out clean, it is done. You can start testing at 15 minutes.
Let the cakes cool.
Filling and Covering in Chocolate
Once the Pao de Mel cakes are cool, you can remove them from the ramekins. Gently use a knife to scrape along the inside of each ramekin for wherever the cake seems stuck. Then turn over and they should slip right out.

Using a serrated knife, slice each cake in half from the side, so you have a top and bottom.
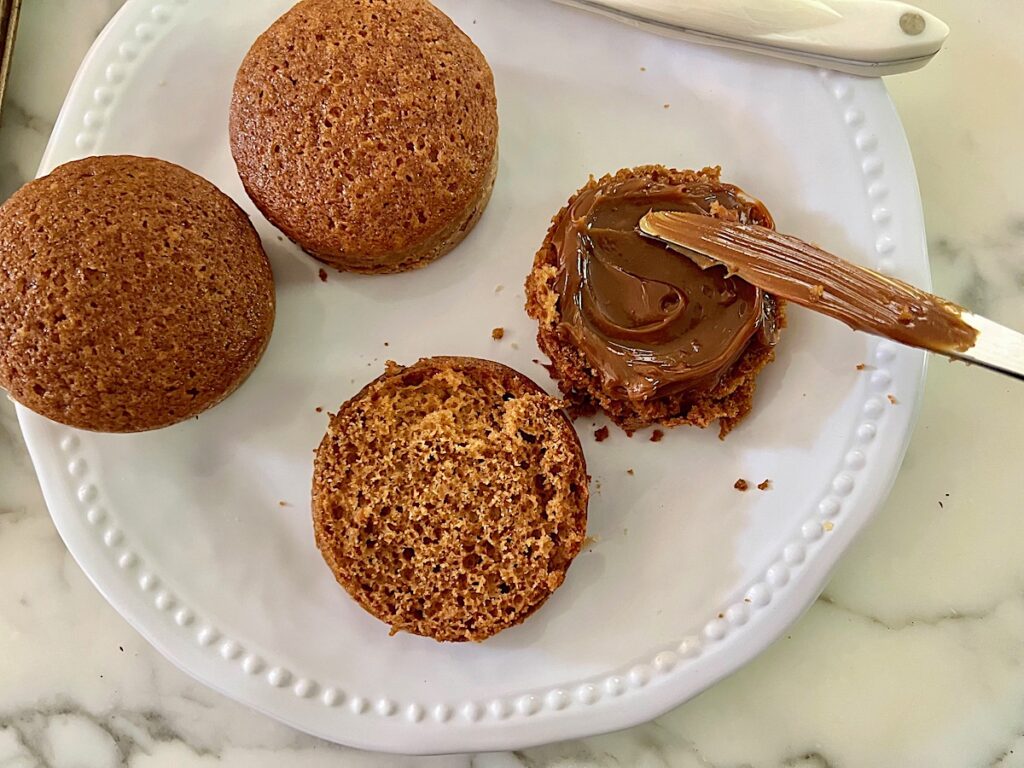
Using a spoon or butter knife, gently spread a layer of dolce de leche onto the bottom halves.
Then place the top halves on top. Once all are filled, set aside.
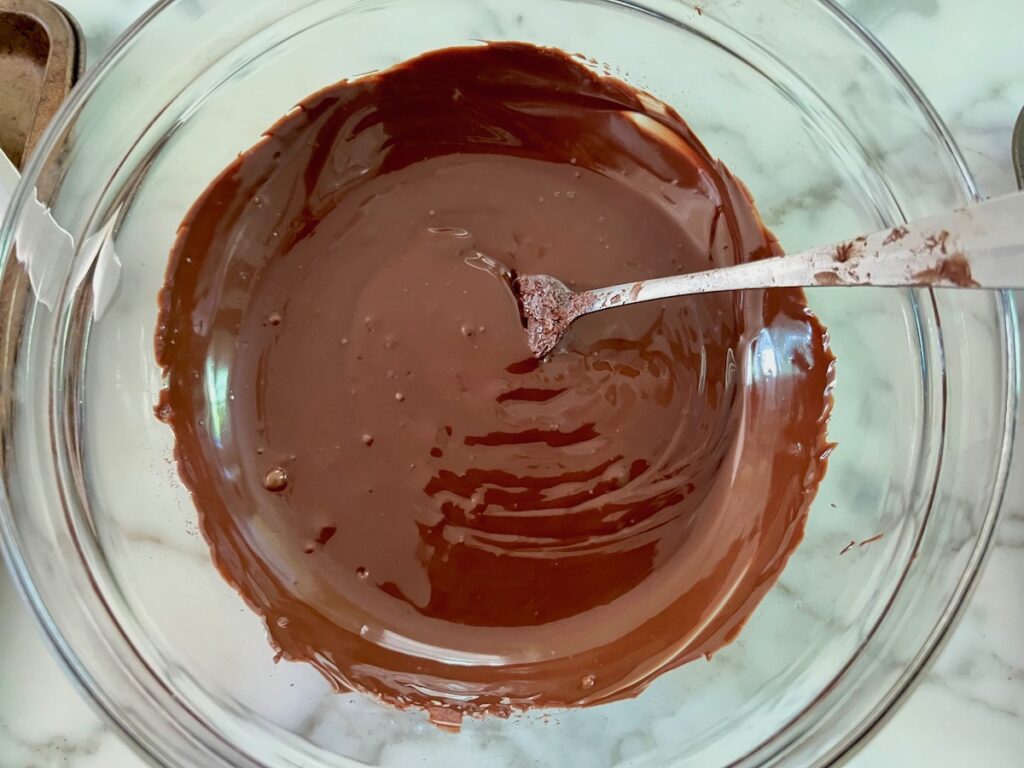
Tempering the Chocolate
Tempering chocolate might sound fancy, but it’s really just about gently controlling the temperature so the cocoa butter sets the right way. When it’s done properly, you get that shiny, smooth finish and the perfect little “snap” when you bite into it.
My favorite beginner-friendly method is called the seeding method. You melt most of your chocolate, then stir in a handful of finely chopped, unmelted chocolate. This helps bring down the temperature (you will want to use a candy thermometer) while encouraging the right crystals to form, giving you beautiful, professional-looking results without complicated steps.
- Melt: Warm your chocolate gently using a double boiler or the microwave. Heat dark chocolate to about 115–120°F (46–49°C), or milk/white to about 105–110°F (40–43°C). Don’t let it burn!
- Seed: Remove from heat and stir in finely chopped chocolate (the “seeds”). Keep stirring until it melts and the temperature drops—88–90°F (31–32°C) for dark, or 86–88°F (30–31°C) for milk/white.
- Keep Stirring: Work with the chocolate while it stays in that range. If it starts to thicken, rewarm just a little.
- Test: Dip a knife or piece of parchment in. If it sets in 3–5 minutes with a glossy finish and a nice snap, it’s ready!(see the post for more explanation on this step)
Cover the Cakes in Chocolate
One at a time, gently dip the cakes into the chocolate. Use a spoon to scoop chocolate over top rather than tossing the cake around.

Then, using two forks, transfer the cake to parchment paper lined sheet pan to set, about 5 minutes. Then individually wrap and gift or set out on a platter to serve!
Pao de Mel Recipe FAQs
It’s a moist, spiced honey cake with flavors of cinnamon and cloves, filled with creamy dulce de leche, and coated in chocolate. Think gingerbread meets caramel and chocolate.
Yes! Traditionally they’re filled, but you can enjoy them plain or swap with jam, Nutella, or another favorite filling.
Bittersweet or semisweet chocolate works best to balance the sweetness of the honey and dulce de leche. Milk chocolate can be used if you prefer a sweeter version.
Tempering gives the cakes a glossy, crisp coating that won’t melt in your hands. If you skip tempering, the chocolate may look dull or soft, but it will still taste delicious.
Stored in an airtight container at room temperature, they last up to a week. You can also refrigerate for about 2 weeks or freeze them individually for up to 6 months. Defrost them in the refrigerator.
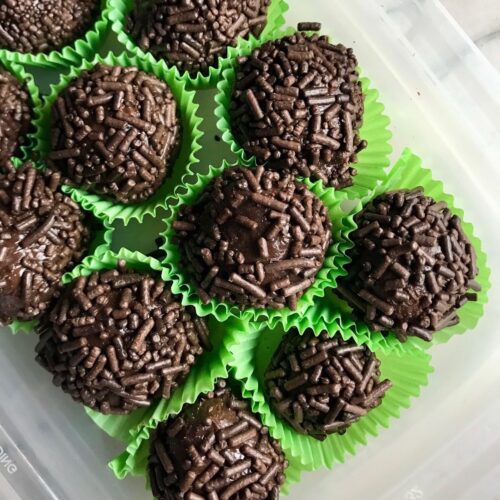
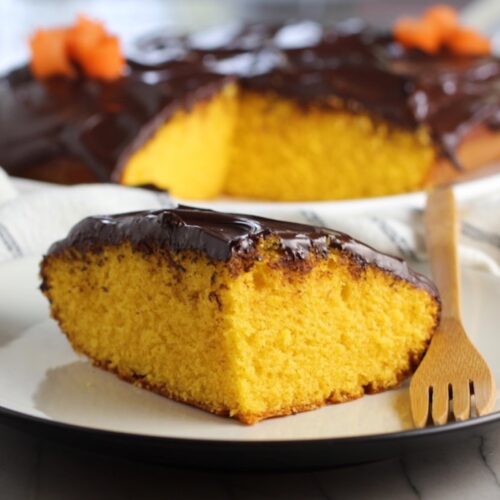
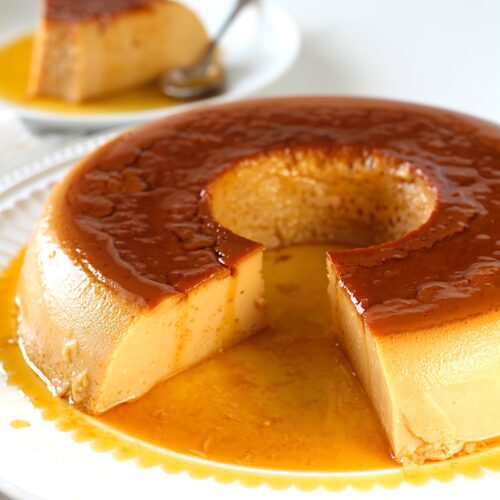
Want more Brazilian Desserts?
Try these:
Pão de Mel Recipe - Brazilian Honey Cakes
Ingredients
Cake Ingredients
- 2 Large eggs
- 1 Cup Light brown sugar packed
- ½ cup Vegetable oil
- 1 cup Honey
- 1 teaspoon Ground cinnamon
- ½ teaspoon Ground cloves
- 1 teaspoon Baking soda
- 2 teaspoons Baking powder
- 1 cup Boiling water
- 2 ½ cups All purpose Flour unbleached
- ½ teaspoon Salt
Filling and Chocolate
- 30 ounces Bittersweet Chocolate, finely chopped
- 15 ounces Dulce de Leche (dulce de leite)
Instructions
Bake Cakes
- Preheat oven to 325 F degrees. Prepare the ramekins by spraying or rubbing them with vegetable oil and then dusting with flour.
- Mix the brown sugar and eggs until combined.
- Add the vegetable oil and honey, and mix.
- Sift in the cinnamon, ground clove, baking soda, and baking powder and mix.
- Add the hot water and mix. Sift in the flour and salt, then mix.
- Pour the batter into the ramekins. Bake on the center rack uncovered for 20-30 minutes. To test if they are done, place a toothpick into the center of one and if it comes out clean, they are done. You can start testing at about 18 minutes. Let the cakes cool.
Fill and Cover with Chocolate
- Line a sheet pan with parchment paper to place the chocolate covered cakes on to set as they come out of the chocolate. Set aside.
- Once the cakes are cool, you can remove them from the ramekins. Gently use a knife to scrape along the inside of each ramekin for wherever the cake seems stuck. Then turn over and they should slip right out. Using a serrated knife, slice each cake in half from the side, so you have a top and bottom. Using a spoon or butter knife, gently spread a layer of dolce de leche onto the bottom halves. Then place the top halves on top. Once all are filled, set aside.
- Tempering the Chocolate...Melt: Warm your chocolate gently using a double boiler or the microwave. Heat dark chocolate to about 115–120°F (46–49°C), or milk/white to about 105–110°F (40–43°C). Don’t let it burn!Seed: Remove from heat and stir in finely chopped chocolate (the “seeds”). Keep stirring until it melts and the temperature drops—88–90°F (31–32°C) for dark, or 86–88°F (30–31°C) for milk/white.Keep Stirring: Work with the chocolate while it stays in that range. If it starts to thicken, rewarm just a little.Test: Dip a knife or piece of parchment in. If it sets in 3–5 minutes with a glossy finish and a nice snap, it’s ready!(see the post for more explanation on this step)
- One at a time, gently dip the cakes into the chocolate. Use a spoon to scoop chocolate over top rather than tossing the cake around. Then, using two forks, transfer the cake to parchment paper lined sheet pan to set, about 5 minutes. Then individually wrap and gift or set out on a platter to serve!
Leave a Reply